I hope you all had a lovely weekend! I spent several hours yesterday organising our little kitchen, but the part which has made me the most happy was the fridge makeover – it was also the quickest project – don’t you love those!
Here’s a look at what I started with …
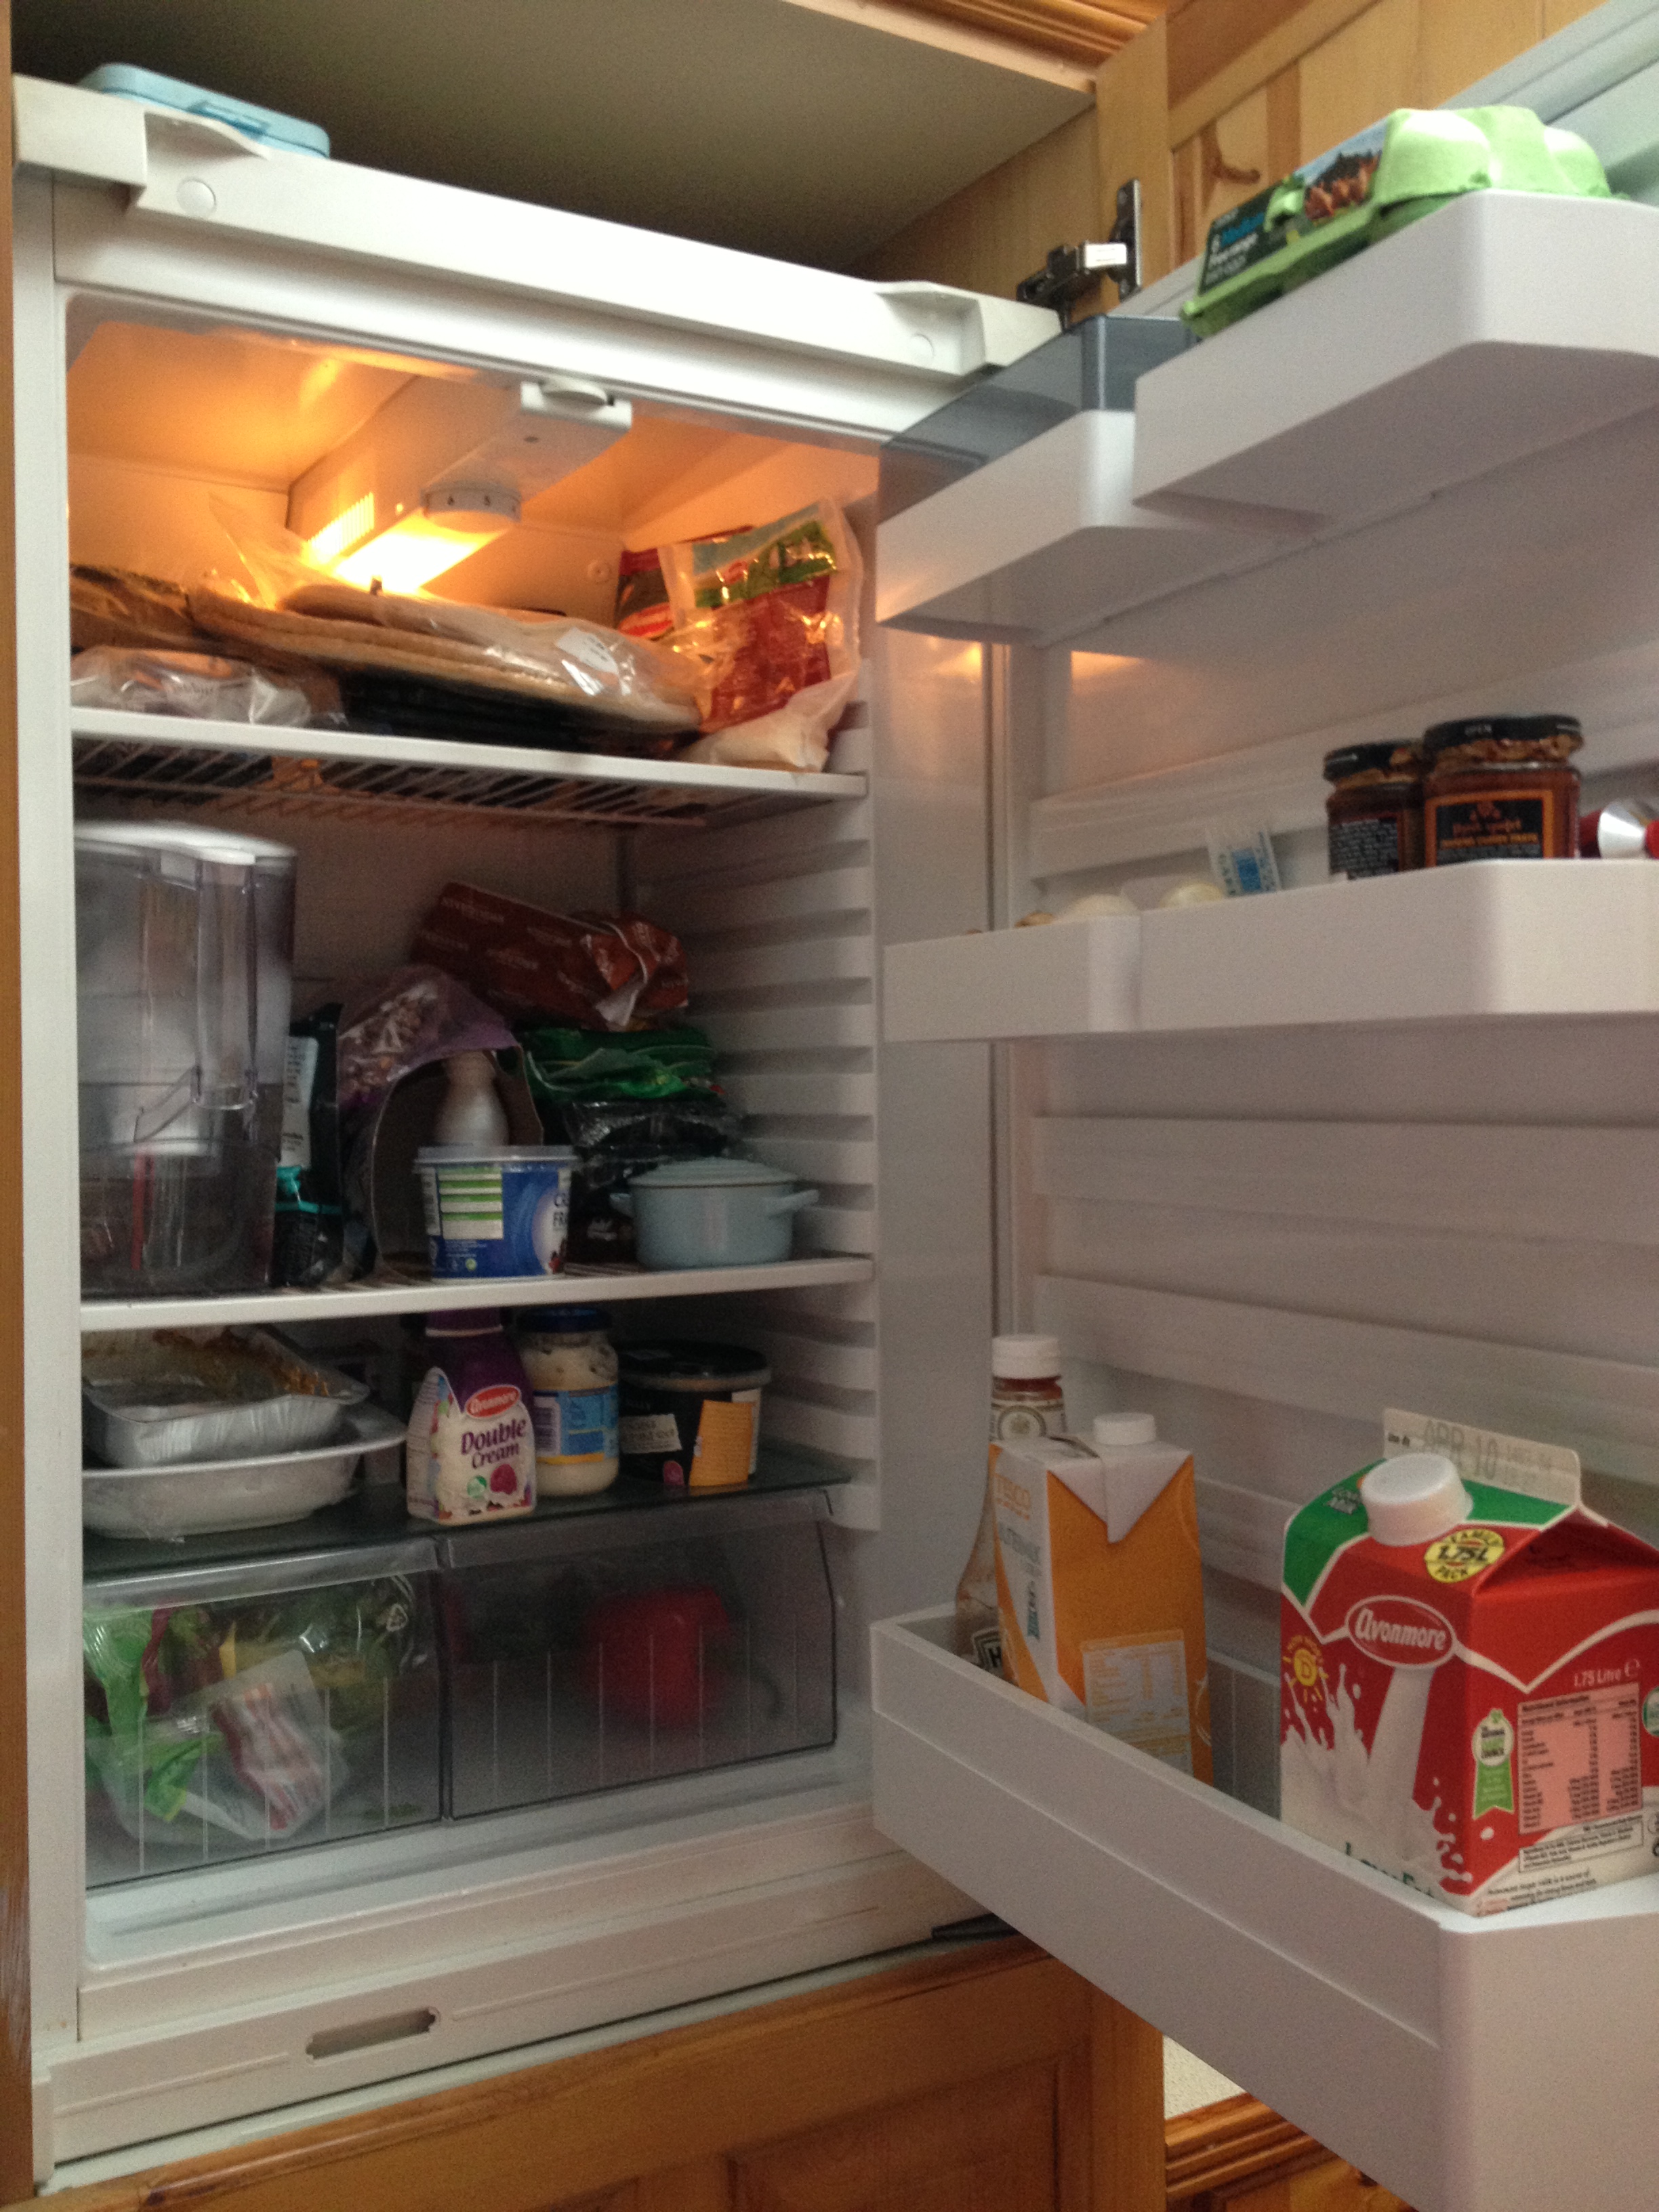
As you can see it’s a small enough fridge, even by European standards, and especially when I compare it to the giant we had when we lived in San Francisco!

As you might be able to tell from the angle of the photos, the fridge is also set quite high up – I’m only 5″2 so a lot of this fridge is above eye-level for me! This means that half the time I had no clue what was in the fridge without moving around a lot of things and, as a result, we ended up throwing out expired food more often than I’d like. There was just no system to the fridge and food was just jammed in at random. You’ll also notice that our water filter takes up a lot of real estate, so it ended up being removed if we didn’t have any available space for incoming food.
So to start the ‘great fridge makeover of 2013’ I started by taking everything out of the fridge and giving it a good scrub down (with the aid of my trusty folding step ladder – a must for all shorties! – I have one like this that I keep behind the kitchen door).
Next I threw out any old food and divided the remaining contents into categories. I had purchased a few plastic food storage containers from Superquinn, so I checked what way they would fit best into the fridge and then filled them with the different categories and this is what I ended up with …
 As you can see, apart from moving some of the condiments into the fridge door, there weren’t many changes there. However if we dive into the main part of the fridge it’s a whole new world!
 I’ve labeled each section using post it page marker labels covered in a strip of sellotape – I’m planning to do fancier labels once my Silhouette Cameo arrives, I can’t wait! … yes I know I’m an organising nerd 😉
So working from top to bottom
 On the top shelf I have one container for all our dairy (butter, yogurts, creme fraiche etc) and a second for all our sandwich making foods (ham, chicken and cheese ). On the middle shelf we have our water filter and another container for all our bread products (sliced pan, soda bread, and fajitas) and sitting underneath (as they were too big to fit in the container) are a few pizza bases. This container for our breads makes me the most happy as we always ended up with packets of sliced pan with only 1 or 2 pieces of bread left floating around our fridge and going stale. Hopefully this won’t happy any more, and once all the remnants are used up (!), this container should be less full moving forward as well.
 On the third shelf we have some of our favourite Cully & Sully soups which we both bring into work for lunch, a small container with some of my Mom’s homemade pate – yum! (eagle-eyed readers will notice that in the first ‘after photo’ this is sitting in front of the water filter, I realised this made no sense to have to move something to get the water and moved it down a shelf, but obviously forgot to take another photo!), and lastly a container for our raw meat – keeping the raw meat in its own container, far away from the sandwich meats, is also much more hygienic as it means the raw juices can’t drip onto other food should the original packaging suddenly spring a leak.
Then lastly, the bottom shelf is home to the two fridge doors where we keep salad and veg. The drawer on the left is usually pretty full of salad (mostly for our pet tortoise, Bella) but sometimes it will have some veg overflow from the other drawer as well.
And my favourite photo, the ‘before and after’ shot…

So much better! So there you have it, our newly organised fridge! This reorganising job probably took about 20 minutes. I’m convinced that the cost of the containers will be quickly recovered by the fact we’ll be throwing out less food. We’ll have to live with the fridge for a while before deciding whether this set up suits us – never be afraid to reorganise if you find something isn’t working for your family – but it’s a vast improvement on what was there before.
Have you organised your fridge in any particular way? Let me know in the comments what set up you find works best for you.


You did a great job!! I love anything organization!
Selene @ Restoration Beauty
Thanks Selene. Amazing what a difference a little bit of organisation makes! It’s so much easier to find everything in the fridge now 🙂
Nice redo! Love organization projects, thanks for sharing. Stopping by from Not Just a Housewife 🙂
RamblingReed.blogspot.com
Hi Andrea. Thanks for stopping by and commenting. Glad you liked the makeover. Congrats on the Liebster Award nomination!
Brilliant post – might have to add a second project to my weekend now!!
Thanks! This project is a much quicker one than your bedroom project will be. Although, you could probably do this one while you waiting on other things to finish up. Multi-tasking!